Mk1 Bird Feeder
With the Deluxe MKI bird feeder destroyed during a storm, we decided on one last attempt and resurrecting the ultimate and bomb proof bird feeder, using as many of the original components as possible.
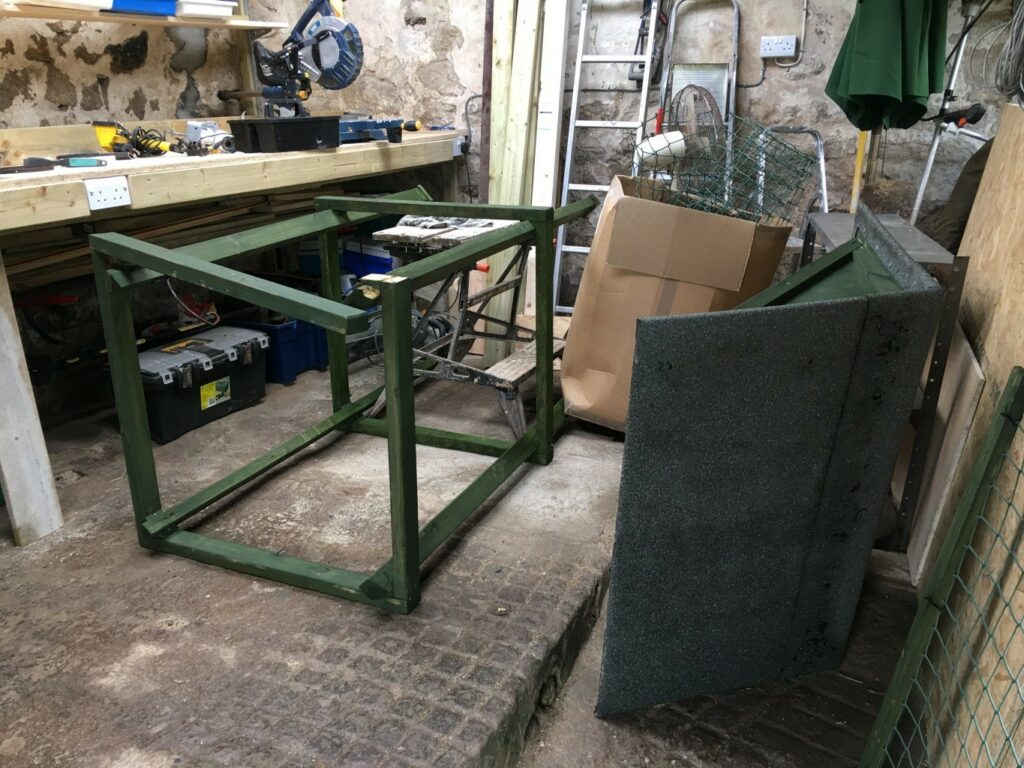
First we had to dismantle the MkI. That wasn’t too difficult as it fell apart as the slightest knock.
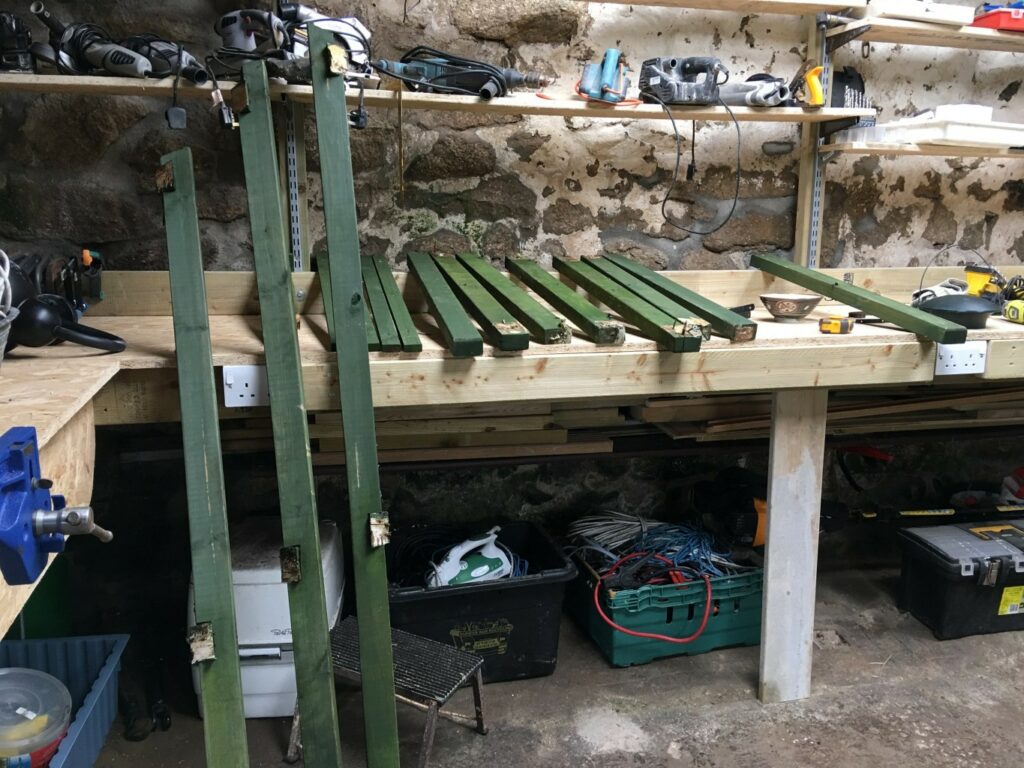
With everything broken down we could then decided how large the new structure could be once we had cut down the broken ends of the various bits of wood.
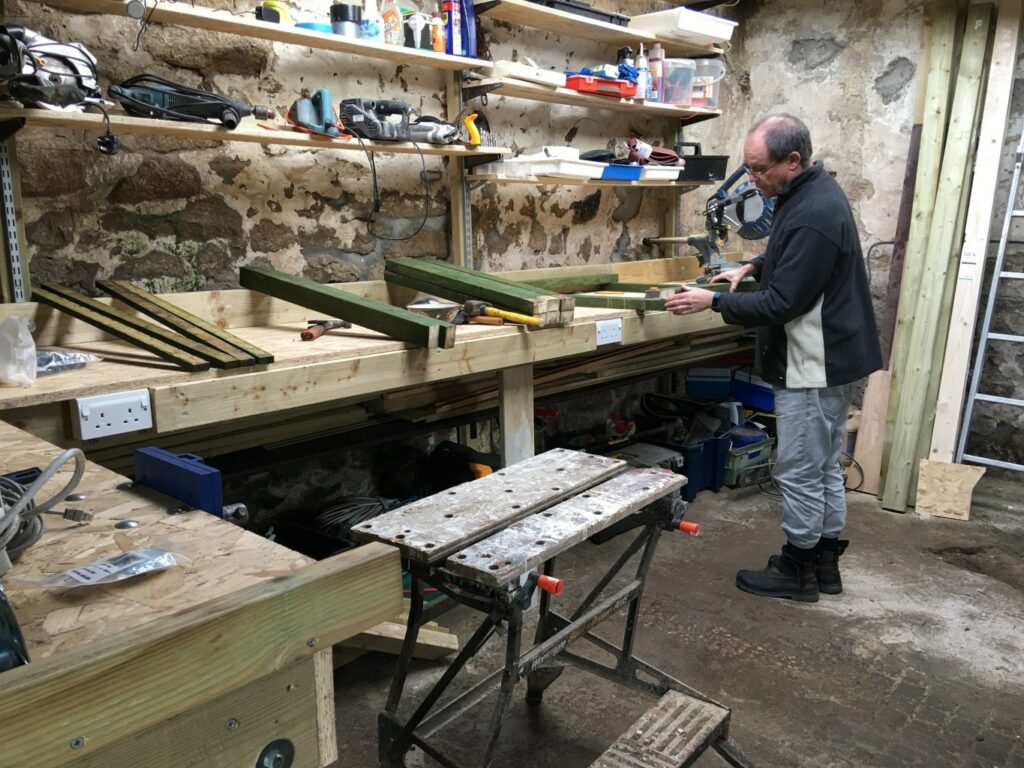
The new workshop coming into its own – it’s so much easier making stuff when you have everything to hand.

This time we were not going to piss around with wood screws. Coach screws all the way on this one.
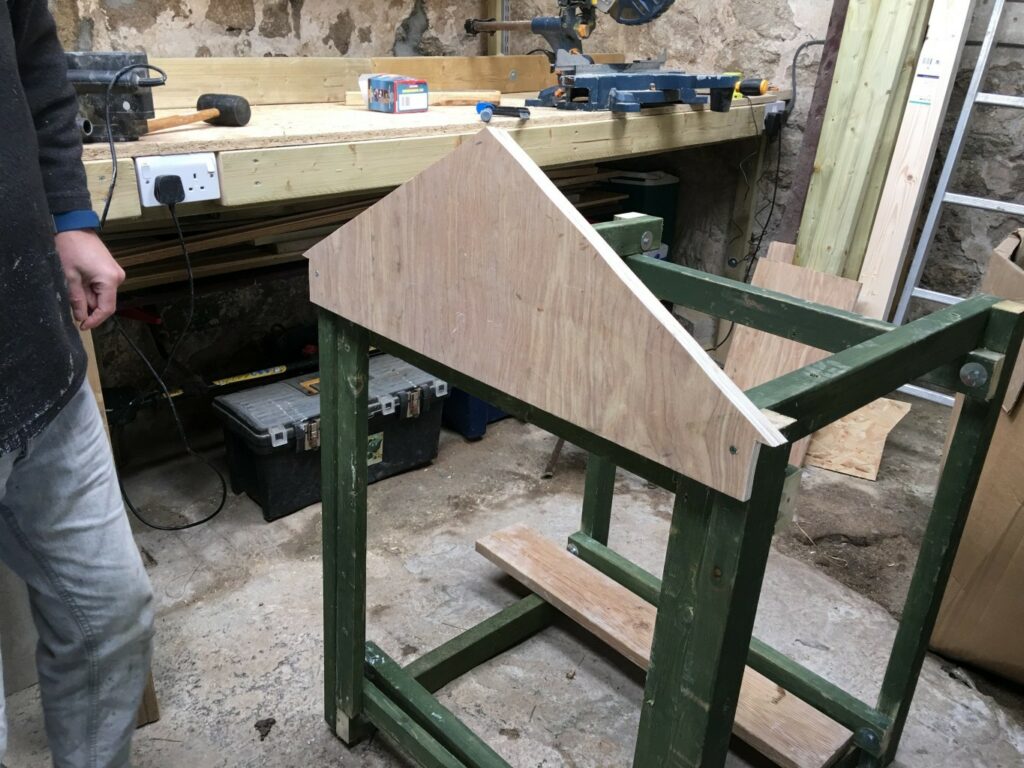
The gable ends under construction.
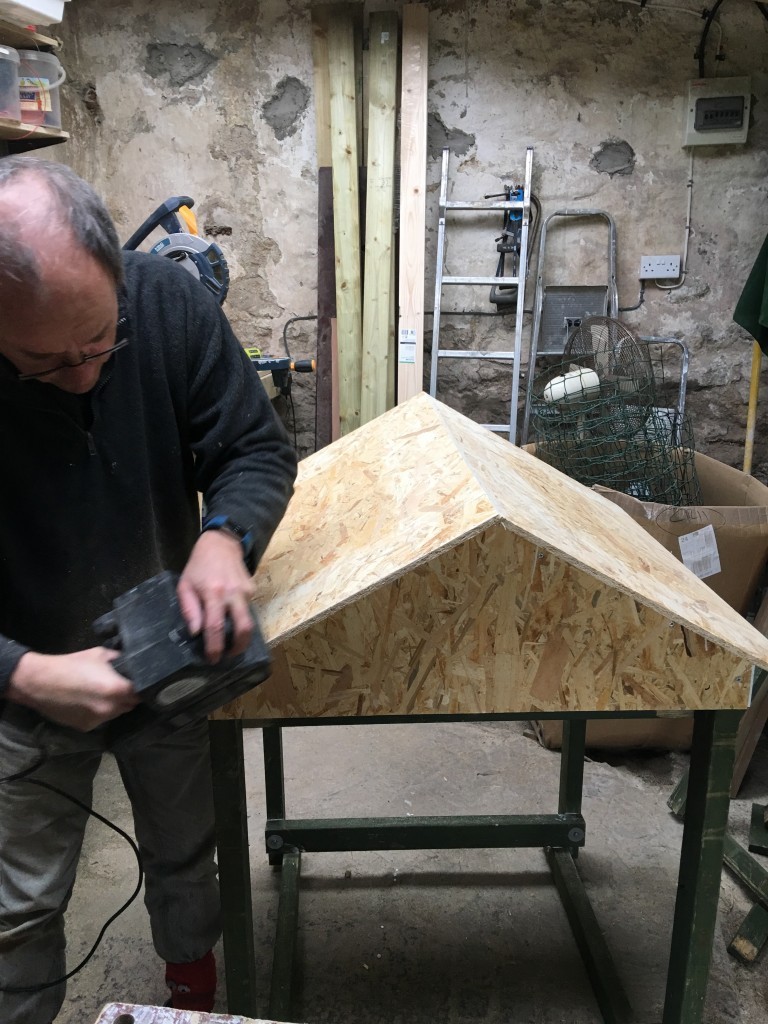
…and the complete roof structure. But how were we going to mount this beast in the garden. Two major points were must haves.
- Be rat proof
- Impossible to be blown down in the wind.
The first was easy. Mount the feeder on some scaffolding pole. The little buggers hopefully cannot get a grip on the pole to climb up.
The second was to encase the base of the pole in 4 bags worth of sand, cement, breeze blocks and rock.

First came a hole. The digger really came into its own here as the tree stump just to the right wasn’t going to come out by hand.


Plonk the pole in the ground and pour in two bags worth of concrete inside a breeze block and rock core.

We did find the pole moved a little in that, so we added another two bags worth of concrete cast into an old bucket used as a mould.
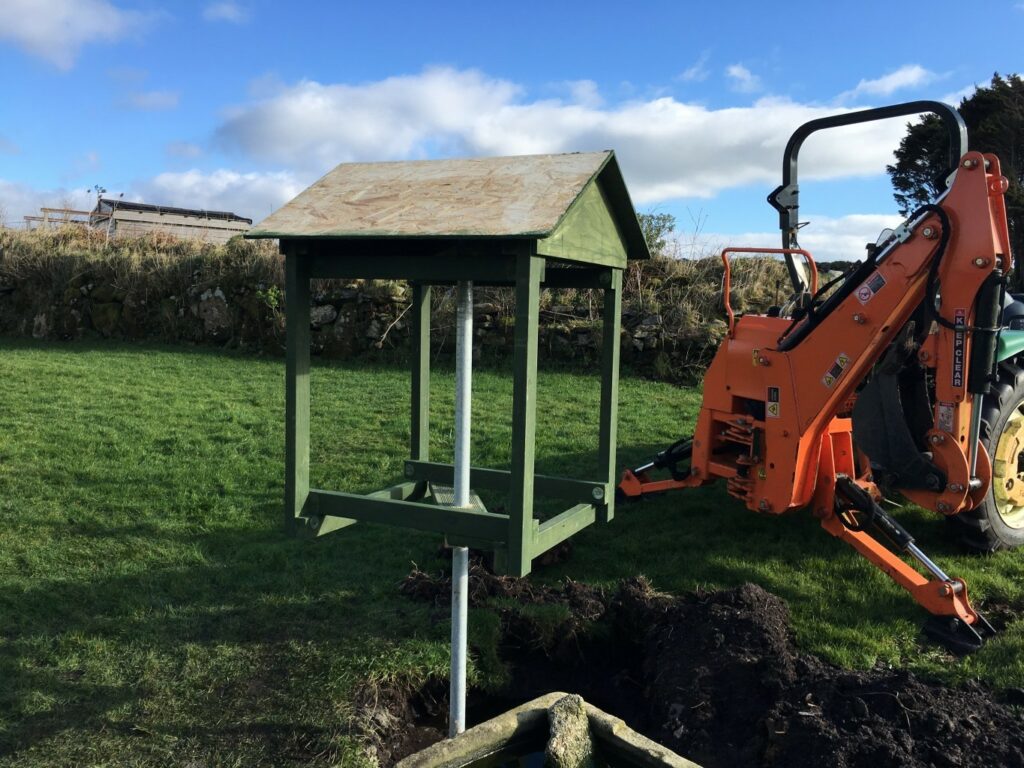
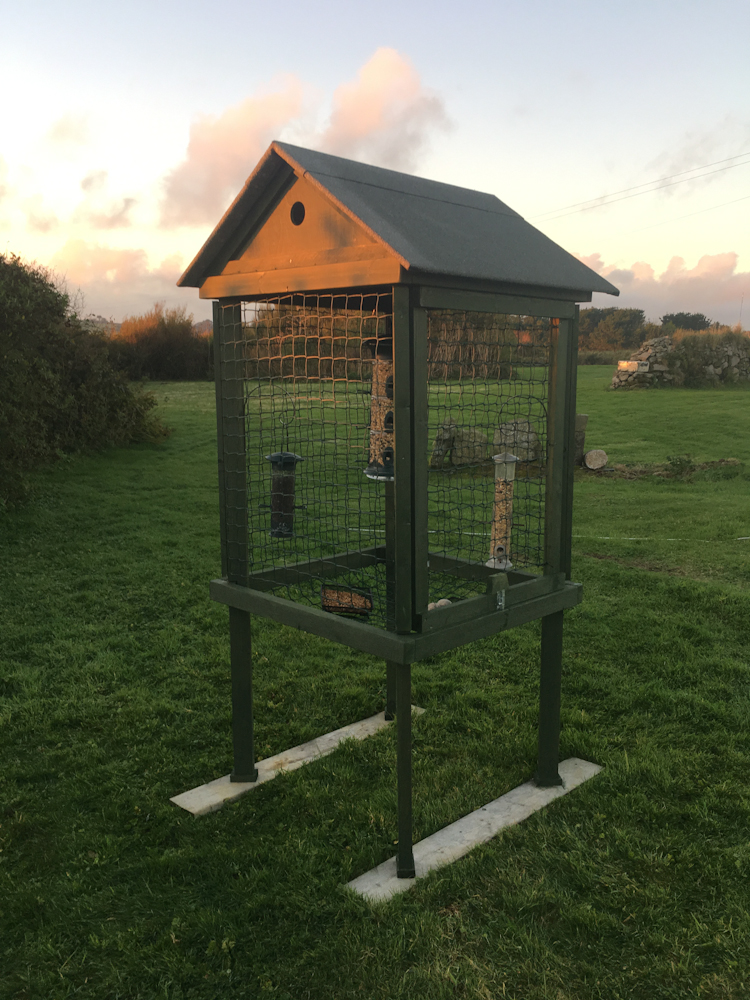
A test fitting to make sure we’ve got the height right. The table is clamped to the pole using a scaffold pole clamp screwed to the upper wooden support. This also stops the table rotating around the pole in the wind.

And the finished puppy complete with roof felt and plastic big bird-proof netting.